
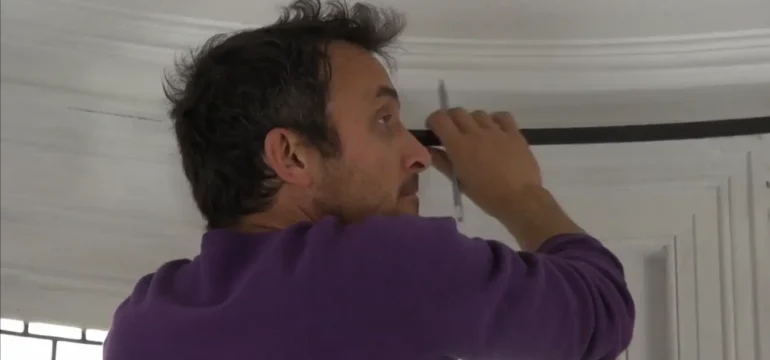

If your bay pole has arrived and you want to put it up yourself, this guide covers bay window curtain pole installation, with Richard fitting an angled and a curved bay on video. If you are still choosing, all our bay window curtain poles are on one page. Below is one method for any bay, whether you call it a pole or a curtain rail, followed by levelling and fixing into older walls.
What You Need Before You Start
A 2 bend bay pole arrives with:
- two finials and two standard end brackets
- passing brackets and a centre bracket
- curtain rings, including special passing rings
- a joining pin, screws, an Allen key and instructions
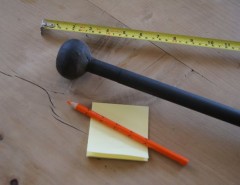
You also need a drill with masonry and wood bits, a screwdriver, hammer, tape measure, pencil, spirit level, steps, wall plugs for brick or concrete and a helper. Before you drill, check for pipes and use a cable detector to find hidden wiring, as Electrical Safety First advises.
Putting Up a Bay Pole in Five Steps
Put up a bay pole by fixing the end brackets level with each other and assembling the pole and rings on the floor. Rest the pole in the end brackets, mark the centre bracket while a helper holds it level, fit that bracket, then lift the pole into place.
- Fix the end brackets. Mark them level with each other about 15cm above the window, or halfway to a low ceiling, then drill, plug and screw them in.
- Assemble the pole on the floor. Loosen the grub screws, slide the finials into the ends stamped L and R and retighten. Split the rings into two even piles, normal rings nearest the finials and passing rings nearest the centre with their gaps to the wall, then join the halves with the joining pin and tighten its grub screw well.
- Mark the centre. Rest the pole in the end brackets, hold it level and mark the centre bracket holes, plus the passing brackets on an angled bay, then lift it down.
- Fit the centre bracket. Drill and fix it and any passing brackets, then check them with the spirit level.
- Lift it into place. With one person at each side, set the pole into the middle first, then the ends, tighten the bracket grub screws and draw the curtains to check the passing rings glide past.
Longer poles travel in two halves and take an extra bracket for every 200cm, spaced evenly. When someone tells us their curtain catches at a bend, it is usually a passing ring turned with its gap to the room.
Fitting an Angled Bay, Including a 2 Bend Bay
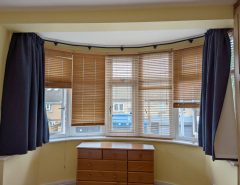
On an angled bay, passing brackets sit either side of each bend and the centre bracket goes halfway along the front section (B to C). A passing ring has a small gap that lets it slide over a passing bracket, as our passing rings video shows. Bays with more bends follow the same method, and our 2 bend bay measuring video and bay measuring guide cover measuring.
In this video Richard fixes the centre bracket first, then the passing brackets, pole and end brackets, because the customer wanted them on the window frame, which was level. If your frame is true, that order works too.
Fitting a Curved Bay
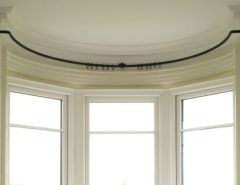
Richard follows the same five steps here, from the end brackets to the final lift, as our page on how to put up a curved bay window pole shows. Our curved bay window poles page and curved bay measuring video cover choosing and measuring a curve.
The window in the video had no room for finials and its recess brackets needed a horizontal backplate, so yours may need a small adjustment, but Richard says the principle is the same on any bay. Ideally, have three people for the lift. A finished curve likes to swing, so in the workshop we carry one with someone steadying the middle.
Getting a Bay Pole Level in an Old House
In an old house, level the brackets to each other, as Richard does, so the pole sits horizontally rather than following a sloping ceiling or a frame that has moved. Most period bays we forge poles for have a ceiling or frame that has settled over the years, so expect the room to be slightly out. Fixing the end brackets first shows you the pole’s true line before the centre bracket goes in, so a dipping ceiling never sets the height.
Fixing Into Old Walls and Ceilings
Drilling is the part of bay window curtain pole installation that customers tell us they are most nervous about, since above an old bay you may find soft plaster, an unknown wall or a lintel, which can be timber, precast concrete or steel.
Our range includes ceiling brackets for fitting a bay window curtain pole to the ceiling. Many period ceilings are lath and plaster, with laths nailed under the joists, and textured coatings such as Artex often contain small amounts of asbestos, so avoid drilling them.
Finishing Touches
Our curtain holdbacks frame the finished bay beautifully, and if your window looks different from those in the videos, send us a message.
Frequently Asked Questions
Which Bracket Goes Up First?
The end brackets go up first, then you mark the centre with the pole resting in them, held level. Centre first suits a true window frame.
Which Way Do the Passing Rings Face?
The gap in each passing ring faces the wall, so it slides over the passing bracket and the curtain keeps drawing.
What Do the L and R Marks on the Pole Mean?
They show which side of the bay each end belongs on.
How Many People Do I Need to Put Up a Bay Pole?
You need at least two people, one at each side of the bay, and Richard suggests three for a curved bay.
How High Above the Window Should the Pole Go?
Ideally 15cm above the window, or halfway between the window and a low ceiling.
Leave a Reply
You must be logged in to post a comment.